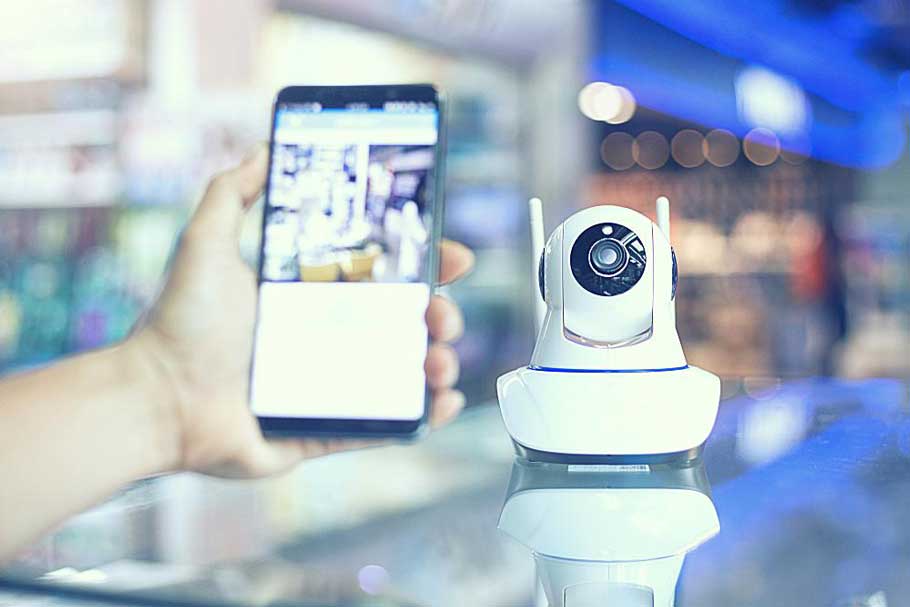
There are many extra benefits to buy and use Yoosee cameras. Unlike other security cameras, Yoosee cameras come with free PC software which enabling users to manage multiple cameras readily on their Windows OS computers. Furthermore, Yoosee cameras comply with ONVIF specification, therefore can be easily integrated into third-party system. In a nutshell, if you have a Yoosee camera, it not only works with free Android/Apple iOS smart phones and tablets, but also can work with network video recorders, Synology/QNAP NAS surveillance station, iSpy/BlueIris/Agent DVR…VMS.
Why Home Assistant?
Here we show you how we can add Yoosee cameras to Home Assistant. Home assistant can integrate diversify smart devices from different manufacturers/brands. For example, using Home Assistant, I’m able to use both XiaoMi and Tuya smart devices. I’m able to create automation for these devices, and they also can interact each other to achieve sophisticated and customized home automation scenes. Using Home Assistant App, I’m able to use almost all smart devices from different suppliers, all these devices will communicate locally with the Home Assistant, no cloud/remote communication is involved. If you want cut the Internet connection for your smart IoT devices, this is a solution.
Adding Yoosee cameras to Home Assistant
Using the default ONVIF component, users can easily add the Yoosee cameras to Home assistant. However, this method encounters a serious flaw, the playing video stream will experience high latency/delay/lag up to 10 seconds. This is not acceptable for many users. In this tutorial we show you adding the camera through WebRTC Camera custom component.
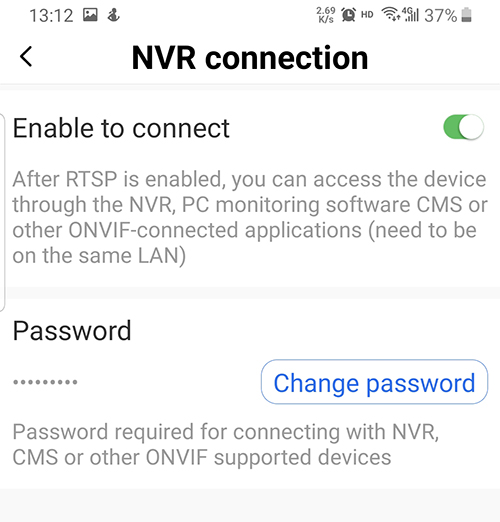
Depends on when you have bought the Yoosee cameras. If you recently bought the Yoosee camera, you can go to camera’s settings and turn “Enable to connect” on page of NVR connection. Just like picture shows below:

The next you need to install WebRTC Camera custom component either from HACS (HACS > Integration > Plus > WebRTC > Install) or manually copy the WebRTC folder to the custom_component folder of your Home Assistant.
After installation, you should restart your Home assistant, hence it becomes available, then setup a new integration by searching “WebRTC Camera” .


The Yoosee camera RTSP URL path shows as below:
rtsp://admin:onvif150@192.168.1.141:554/onvif1
rtsp://admin:onvif150@192.168.1.141:554/onvif2
RTSP URL path explanation:
- Admin: default username, can’t be changed
- Onvif150: NVR connection password (devices produced after 2021), Yoosee camera password (before 2020)
- 192.168.1.141: local IP address of your Yoosee camera
- Onvif1/onvif2: onvif1 main stream (1920×1080 or 1280×720), onvif2 sub stream (640×480).
Modifying the example code, replacing the URL patch with your own, click “Add” to complete the integration. The code example for Yoosee camera shows as below:
type: custom:webrtc-camera
url: rtsp://admin:onvif150@192.168.1.141:554/onvif1
Do not copy and paste this code, you should manually edit the code. If you copy and paste this code, you may encounter some errors. After done this, you’re able to watch the real-time video from your Yoosee security camera.

Can you write your contact number?
I can’t upload
I am having trouble with the installation
problem not solved thanks
my recorder is not working
hello nice sharing thanks
It really worked, I appreciate it!
Can you write your contact number?
I sent an e-mail from the communication channel. Can you help?
It was a great sharing
problem not solved thanks
hi how can i do
hi how can i do