How to Add Cameras to Amazon Alexa Here is a video for your reference:
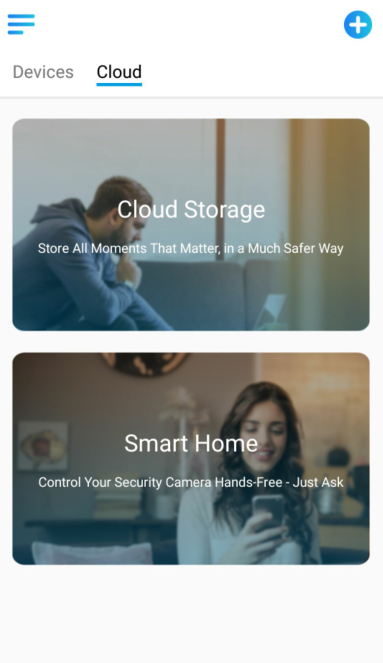
Step 1. Launch the Reolink App and log in your Reolink account, and then you will find the Smart Home option.

Step 2. Enable the device you want to add to Amazon Alexa in the Smart Home page.

Step 3. Launch the Amazon Alexa APP, sign in your account and then tap on “Devices” in the bottom right corner.
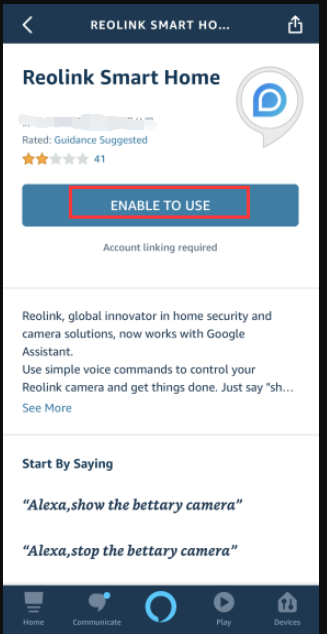
Step 4. Select “Your Smart Home Skills” and tap “Enable Smart Home Skills“. Please click the “Search” icon at the top right corner and search Reolink Smart Home.


Step 5. Tap “Enable to Use“, type in your Reolink account, and then click “Log in“.
After logging in successfully, the App will remind that “Reolink Smart Home has been successfully linked“. Tap “Done” to go to the next step.


Step 6. Tap on “Discover Devices” or use voice command “Alexa, discover devices“. Alexa will scan and show the devices bound to your Reolink account.


Step 7. Tap on “Set up Device”, you can choose a Group for the camera or you can SKIP this step. Tap on “Continue” to finish the setup.


Step 8. Done! Now you’ve added the Reolink camera to Amazon Alexa successfully.
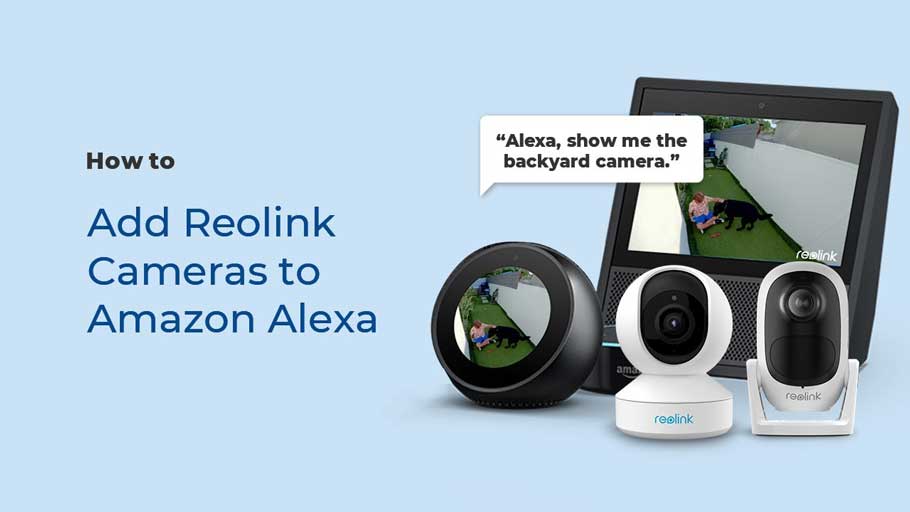
To test your camera, launch the Echo dot and Echo Show, say “Alexa, show [name of the camera]” to view the live stream and say “Alexa, stop [name of the camera]” to stop the live stream.

What Devices Do I Need in Order to Make the Cameras Work with Alexa
To integrate your Reolink cameras with Amazon Alexa, you need to have the following devices and apps set up: Reolink camera, an Amazon Echo Show or an Amazon Echo dot, the Reolink APP and Amazon Alexa APP on your mobile device. If the current camera firmware is not compatible with Alexa, please go to Download Center upgrading to the latest firmware.

hello nice sharing thanks
please provide support for me i leave my email address
my recorder is not working
It really worked, I appreciate it!
It was a great sharing
I really love you