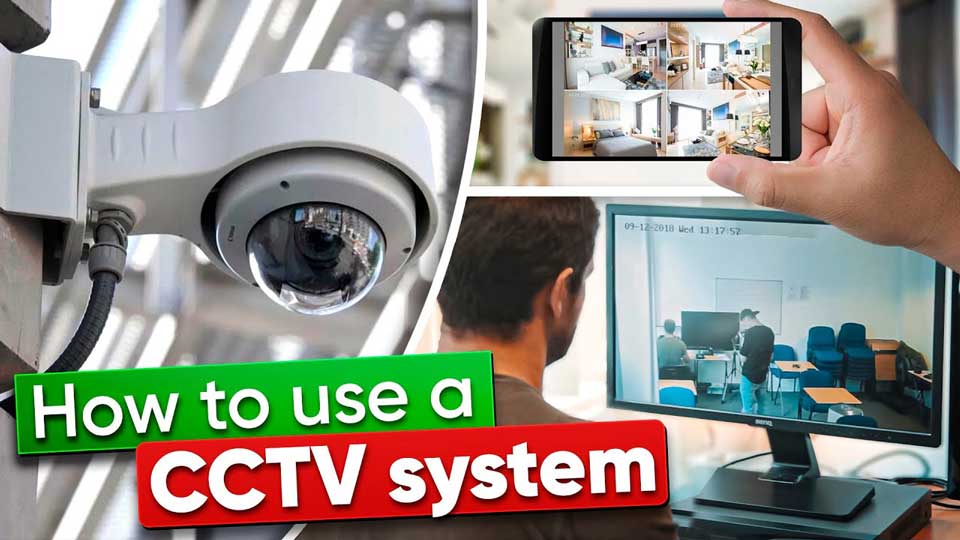
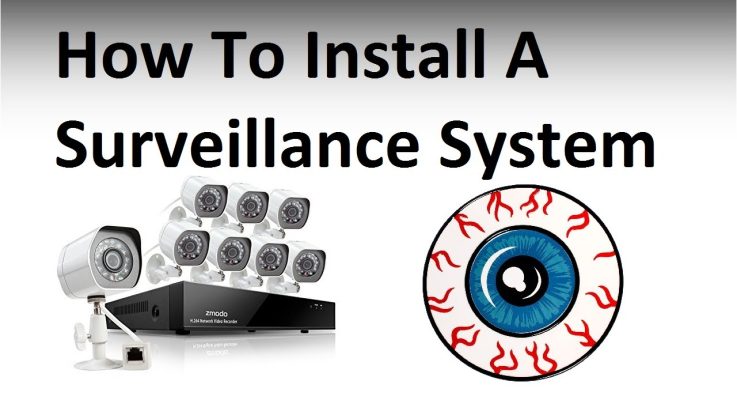
How to use your Security Camera System, In this comprehensive video guide, we demonstrate the plethora of basic functions that our security camera recorders have to offer. After you purchase your system, this guide is a starting point for learning how to use your security camera system. We start from learning to login to the recorder, and end with downloading video from the recorder and playing it back on your PC. For other functions, feel free to check out our DVR NVR help section.
How To Setup a Security Camera System?
The first phase in setup of a security camera system consists of installing the cameras and running the wire. The second phase is completing the connections between the cameras and the recorder, which depends on the type of camera system you have purchased.
How To Setup a DVR Camera System
DVR camera systems consist of security cameras that have BNC jacks to send video over coax wire, and a 12VDC power connector for power. Such coax wire based systems use RG59U siamese cables that have BNC and 12VDC power connectors at each end, which allow video and power to be run together over one “siamese cable.” As shown in the setup video below, BNC connectors are silver colored metal connectors that twist lock on to the video jacks of a camera and DVR recorder.
Infrequently, an installer may use network cabling with video baluns instead of coax cabling, which was very common with older CCTV systems to transmit video signal over long distances. Regardless of whether you are using coax wire or video baluns, setup of a DVR camera system is similar as demonstrated in the following video:
How To Setup a NVR Camera System
NVR camera systems use plug-and-play IP Cameras that connect directly to built-in PoE ports on the back of the NVR. Such systems are also commonly referred to as PoE IP camera systems because the cameras use Power over Ethernet technology to send power/video/data all over one network cable. We recommend using CAT5e cable as a minimum, and CAT6 wire is recommended for runs longer than 150ft as its thicker wire gauge allows for improved power transmission.
Our IP camera systems feature plug-and-play compatibility between the NVR and IP camera. Unless otherwise specified, we ensure the cameras and NVR we sell are compatible with each other and allow even a novice user to setup a IP security camera system.
To gain a good understanding of your purchase, we recommend customers bench test IP cameras with the NVR recorder before installing the cameras. Once it is established that all cameras are operational, continue with mounting the cameras at the desired location and running the camera wire. Since installation errors are common when crimping CAT5e or CAT6 network cable, we recommend using a cable continuity tester to safeguard against wiring related issues.
As each camera is installed and connected to its wire, follow the video below to learn how to connect each IP camera to the NVR in a NVR camera system.
Once cameras are installed and wired to the digital video recorder it is time to login, and start using the system, which leads us to the third phase
How to use your surveillance system
1. How To Login to a Security Camera System
Before you are able to login to your camera system over the web, you need to login at the DVR or NVR itself using a mouse. Connect the recorder to a monitor that supports at least 1080P resolution. We recommend using a HDMI input capable monitor. Turn on the recorder and login using two possible login methods.
Please watch the video below to learn more from our video tutorial about the two different ways to login to your or security system.
In case you are unable to login due to a forgotten password, it is easy and secure to reset the password and gain entry into the unit. It is required that you be present at the recorder when following the video guide below on how to reset the login password. As shown in the video below, by answering some simple security questions you can quickly reset the login password.
2. Viewing Live Video and Audio on a Security System
All of our DVR Systems and HD NVR systems allow multiple viewing options. You can view multiple cameras in a grid-view or view one camera at a time in full screen mode. Full screen mode also allows the user to listen to audio from security cameras with built-in microphone. To hear audio from cameras, all of the following conditions must be met:
For a comprehensive guide of the different viewing options offered by our security camera systems, please watch the following video:
Regardless of whether you have an IP security camera system or DVR camera system, both provide the user with two types of zoom:
It is important to understand the difference between digital zoom and optical zoom, and the fact that optical zoom can only be used in live view mode. Below is a detailed video demonstration of each type of zoom function and how both can be utilized during live view to see objects far away. Using a 4MP security camera mounted 7ft above the object of interest, we show the power of optical zoom provided by a motorized zoom security camera to view objects in fine detail.
If your system has motorized zoom cameras or a outdoor PTZ camera that you purchased from CCTV Camera World, they can be easily controlled using our surveillance video recorders. Regardless of whether the motorized cameras are HDCVI or IP cameras, or whether your recorder is a DVR, XVR, or NVR, the cameras can be controlled using the friendly GUI interface of our systems as shown in the following video.
3. Setting Recording Resolution
A common misconception about our camera systems is that all cameras have to be the same resolution, which is not the case. Cameras of different resolutions can be used on the same recorder in any of our systems, granted the cameras are within the maximum resolution limit of the recorder. This is true for systems consisting of Tribrid DVR, XVR, or NVR recorders.
Encoding settings can be set individually for each camera channel. Depending on the maximum recording resolution supported by the recorder and the camera, our surveillance recorders allow up to 12MP recordings. All of our DVR and NVR recorders also have dual video encoding technology to provide two streams of video for each camera channel:
The Encoding menu has several settings that can be set. A good understanding of the following settings is important in getting the most out of our security camera system purchase from CCTV Camera World.
We recommend first selecting the codec, resolution, and frame rate; our digital video recorders will recommend a bit rate based on the selected settings. As a guide, use the below bitrate settings for optimal video recording if hard drive space is of ample capacity in your system.
|
Codec |
Resolution |
Frame Rate |
Bitrate (kbps) |
|
H.264 |
960H or D1 |
30fps |
1024 |
|
H.264 |
720P |
30fps |
2048 |
|
H.264 |
1080P |
30fps |
4096 |
|
H.264 |
3MP |
20fps |
4096 |
|
H.264 |
4MP |
20fps |
4096 |
|
H.264 |
8MP |
15fps |
8192 |
|
H.264 |
12MP |
15fps |
10240 |
The in-depth video tutorial below discusses encoding settings available in your system and how to configure them.
4. Customizing Video Settings
We manufacture our cameras to produce the best possible picture quality automatically. Sometimes peculiar lighting scenarios in a scene may require customization. Our DVRs and NVRs allow multiple picture quality settings to be modified from the recorder as explained in the detailed video tutorial below. It is important to note that there is a difference in capabilities to modify image settings when comparing coax based cameras versus IP cameras.
Coax based cameras produce video that is encoded by the DVR, thus allowing picture quality to be modified before the video is saved by the DVR. In contrast, IP cameras encode video that is streamed to the NVR for saving the video stream; the video is not encoded by the NVR. Therefore, any changes made in the picture settings on the NVR must be communicated back to the IP security camera. If an incompatible IP camera is used with an NVR, such changes will not be communicated to the IP camera, and changes will not apply before video is encoded by the camera.
Our systems allow a wide variety of picture settings to be toggled depending on the camera specifications. In addition to picture brightness and contrast, the user can toggle image quality features such as backlighting, glare compensation (WDR), and image flip.
5. Recording Method Configuration
All of our security systems offer a variety of video recording methods. Each security camera can be set to record independently and the user has the option to choose from the following recording methods:
The digital video recorders in our systems even allow multiple recording methods for each camera. For example, cameras can be set to record all the time or during a portion of the day using the scheduled recording method, while also recording upon motion detection. This preserves video integrity in case a motion event is missed, and is very helpful when reviewing recorded security footage to allow the user to skip to points in the timeline when motion is detected. The video tutorial below is an in-depth guide on how to set the different recording methods for each camera in your surveillance system.
6. Playback Recorded Video on your Surveillance System
CCTV Camera World’s security camera systems have a user-intuitive graphical interface to playback recorded video. Using a mouse connected to your recorder, it is easy to review recorded security footage in the Search menu. It takes 3 simple clicks to playback recorded video:
The video above is a comprehensive tutorial on how to playback recorded video, in which we cover:
You can playback one camera or multiple cameras depending on the resolution of the recording and the playback capability of the recorder that is part of your system. Our 4000 series NVRs support playback of up to eight 1080P channels, while our 5000 series NVR support up to sixteen channel playback at 1080P. Stronger playback capability is available when playing video over the network using our free computer client software to playback video on a PC or Mac workstation.
7. How to Download Video from a Security Camera System
When there is an incident, it’s important to have a camera system that allows easy download of security footage catching the perpetrator in the act. Our security camera systems are based on this simple principle to allow easy video download of a short video segment to a USB drive and playback on a Windows or Mac computer. To download video from any of our standalone recorders you will need a USB flash drive that is formatted with the NTFS or FAT file system. The flash drive should not be more than 256GB. The video guide below on how to download footage from your security camera system walks you through the process.
Briefly, below is a list of simple steps on how to download video from a DVR Camera System or HD IP Camera System purchased from CCTV Camera World.
8. How To View Downloaded Footage from a Security Camera System
Once security footage has been downloaded from your surveillance system, it can be reviewed on a Windows or Mac OS computer using our free playback software called Smart Player. You can download it here for Windows and Mac. Here is a list of features of Smart Player which makes our systems one of the best security camera systems in the industry for video archiving and review:


“This comprehensive guide on utilizing security camera systems is a game-changer! From installation to optimizing settings, it covers every aspect of maximizing your surveillance setup. The tips on placement, monitoring, and maintenance ensure enhanced security and peace of mind. A must-read for anyone looking to harness the full potential of their security cameras!”