Part 1 – Wired Connection
- Plug the power cable into the LSHSC, then plug the power adapter into a wall outlet.
- Tap Next (arrow).

- Read the LSHSC’s EULA, then tap I Accept.
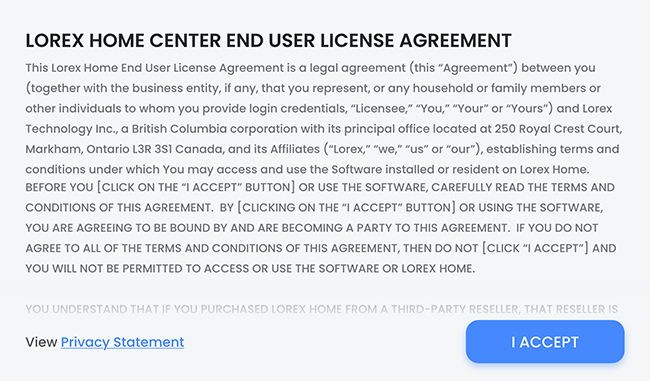
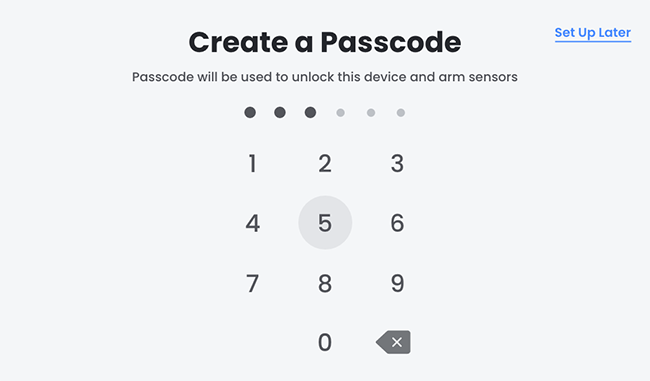
- Create a Passcode. The passcode will be used to unlock the device and arm sensors.
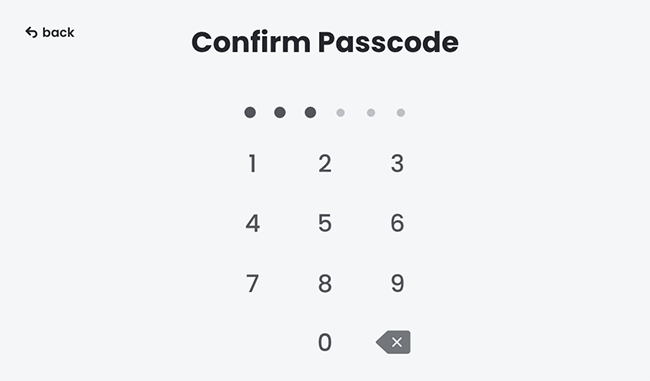
- Confirm Passcode.
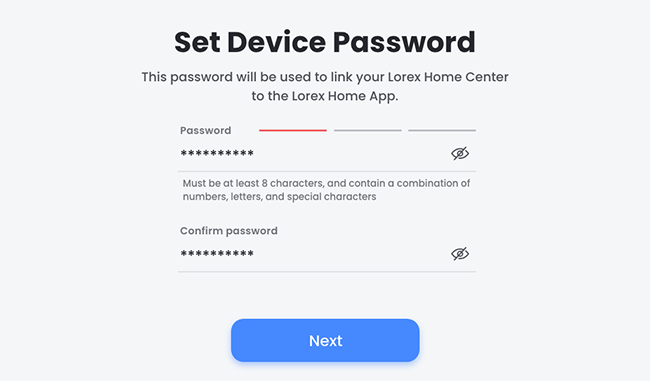
- Set Device Password. This password will be used to link your LSHSC to the Lorex Home App.
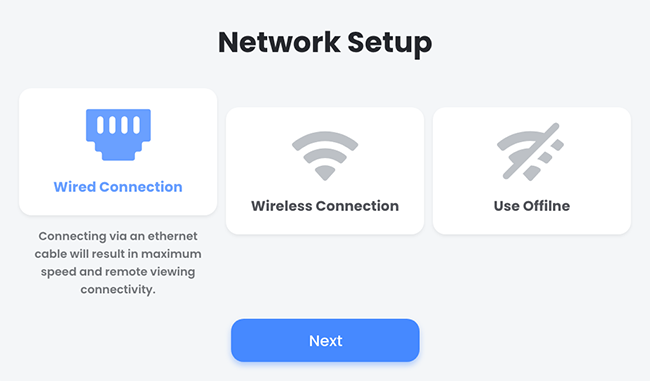
- Under Network Setup, tap Wired Connection, then tap Next. Connecting via an Ethernet cable will result in maximum speed and remote viewing connectivity.
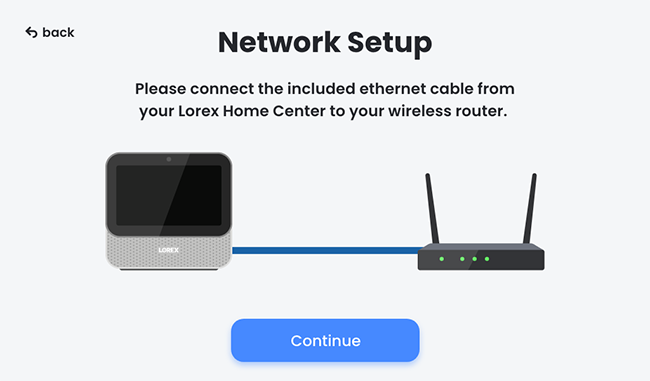
- Connect the included Ethernet cable, then tap Continue. Please connect the included Ethernet cable from your LSHSC to your wireless router.
Congratulations! You have successfully set up your Lorex Smart Home Security Center.
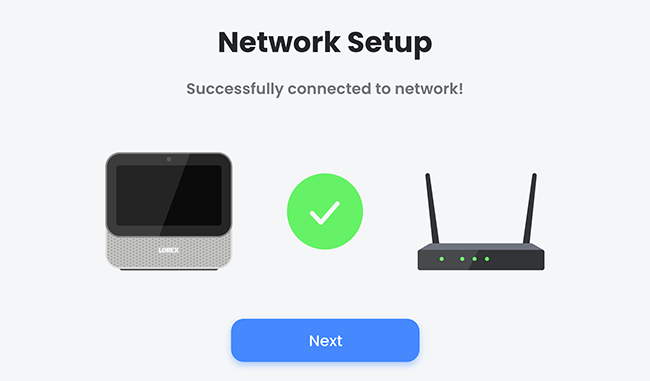
You can now start adding devices or pair the LSHSC with the Lorex Home App.
Part 2 – Wireless Connection
- Plug the power cable into the LSHSC, then plug the power adapter into a wall outlet.
- Tap Next (arrow).

- Read the LSHSC’s EULA, then tap I Accept.

- Create a Passcode. The passcode will be used to unlock the device and arm sensors.

- Confirm Passcode.

- Set Device Password. This password will be used to link your LSHSC to the Lorex Home App.

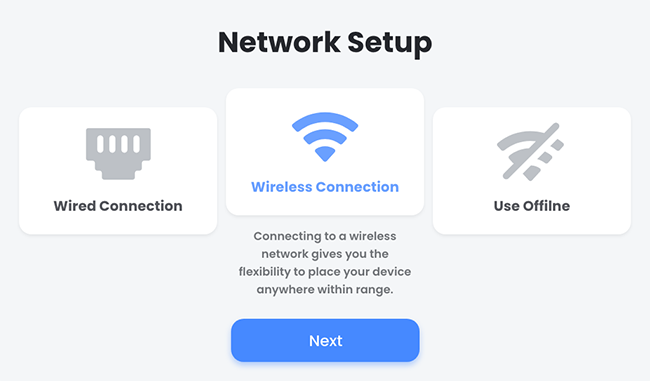
- Under Network Setup, tap Wireless Connection, then tap Next. Connecting to a wireless network gives you the flexibility to place your device anywhere within range.
WARNING: The LSHSC requires 5GHz frequency to connect a wireless network.
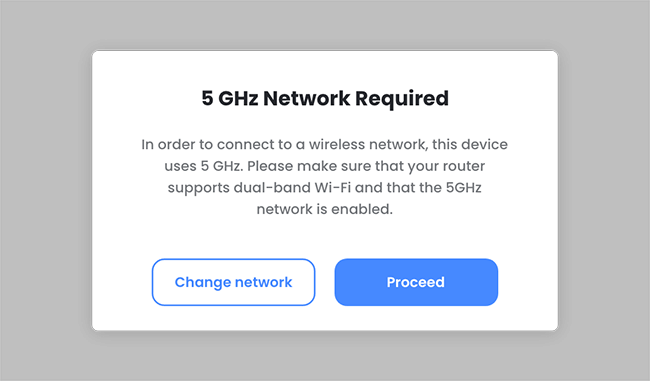
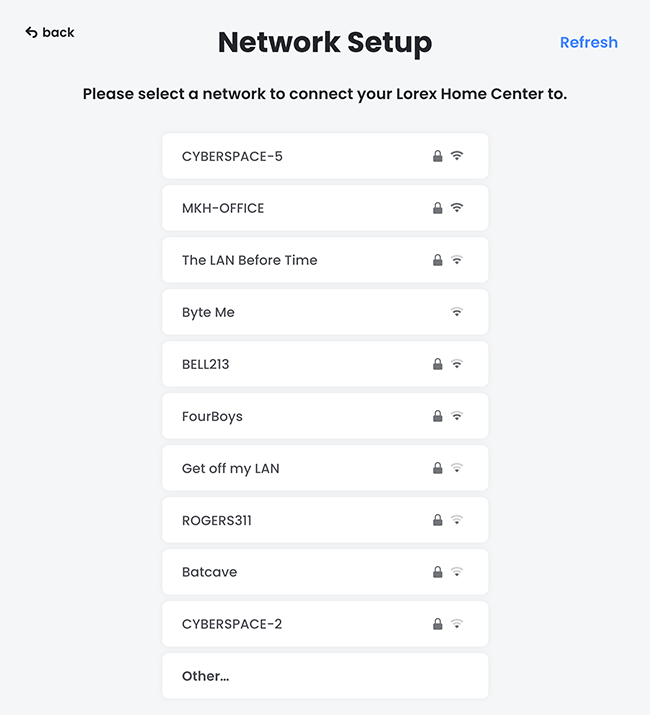
- Select a network to connect your LSHSC.
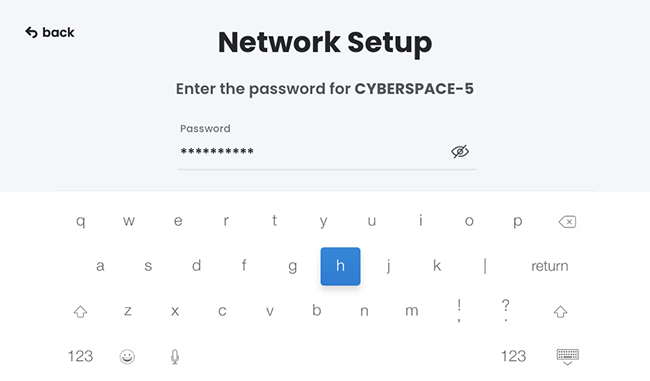
- Enter the password for selected 5GHz network, then tap Connect.
Congratulations! You have successfully set up your Lorex Smart Home Security Center. You can now start adding devices or pair the LSHSC with the Lorex Home App.
Part 3 – Use Offline
- Plug the power cable into the LSHSC. Then plug the power adapter into a wall outlet.
- Tap Next (arrow).

- Read the LSHSC’s EULA, then tap I Accept.

- Create a Passcode. The passcode will be used to unlock the device and arm sensors.

- Confirm Passcode.

- Set Device Password. This password will be used to link your LSHSC to the Lorex Home App.

- Under Network Setup, tap Use Offline, then tap Next. Without connection to a network, you will be unable to use some features, including remote viewing.
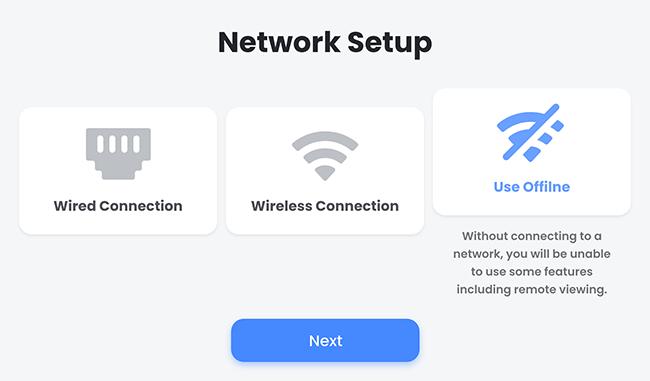
WARNING: Network features will be unavailable when offline, including remote viewing, and firmware updates.
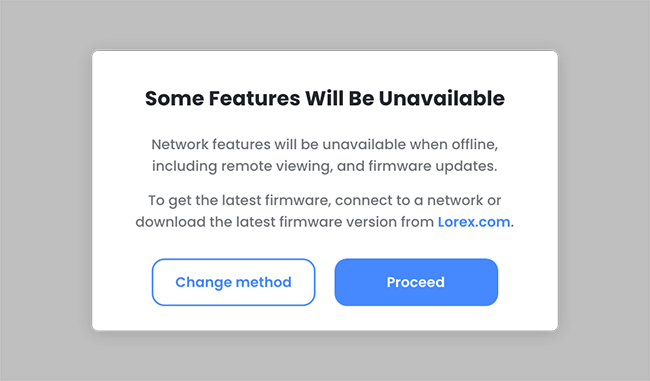
Tap Proceed to set up your LSHSC for offline use or tap Change Method to connect your LSHSC to your network.
Congratulations! You have successfully set up your Lorex Smart Home Security Center for offline use.
IMPORTANT: To add devices or pair with the Lorex Home App, you must first connect your LSHSC to your network.
I really love you
please provide support for me i leave my email address
I sent an e-mail from the communication channel. Can you help?
I sent an e-mail from the communication channel. Can you help?
I am having trouble with the installation
my recorder is not working
It really worked, I appreciate it!