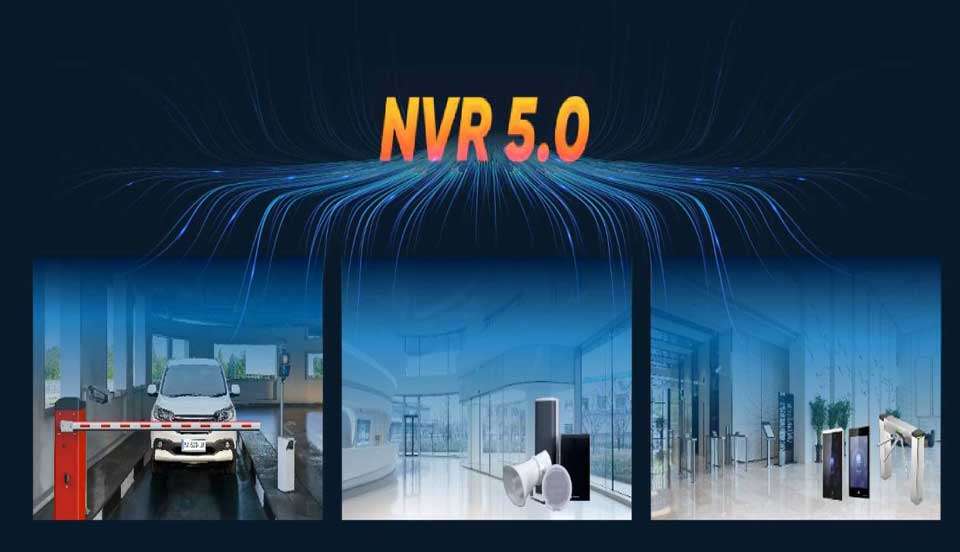
Hikvision NVR 5.0 Professional Installation Guide, This guide outlines the essential steps for installing and configuring your Hikvision NVR 5.0. For comprehensive, model-specific instructions, consult the official Hikvision user manual downloadable from their website (Hikvision website).
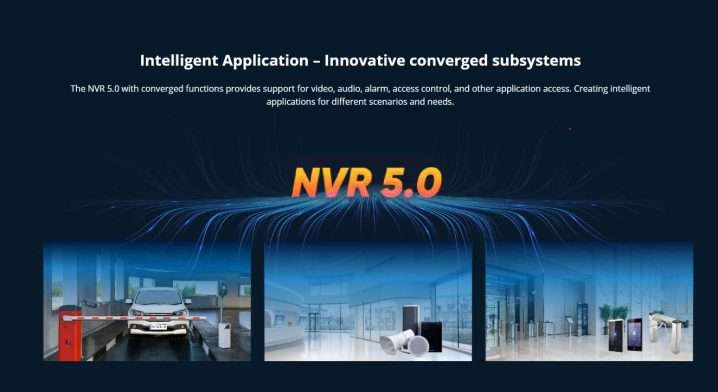
Hikvision NVR 5.0 Professional Installation Guide
Hardware Installation
1.Power Connection: Securely connect the power adapter to the NVR’s designated port and a reliable power outlet.
2.Monitor Connection: Establish a video connection between your monitor and the NVR using a VGA or HDMI cable.
3.Mouse Connection: Plug a USB mouse into a readily available USB port on the NVR for system navigation.
4.Camera Integration:
◦ PoE Cameras: If your cameras support Power over Ethernet (PoE), directly connect their PoE cables to the corresponding PoE ports on the NVR.
◦ Non-PoE Cameras: For non-PoE cameras, utilize a network switch to connect the camera’s network cable to your network. Additionally, provide a separate power supply for the camera.
5.Network Connectivity: Utilize an Ethernet cable to establish a connection between the NVR’s LAN port and your network switch or router.
Software Configuration
1.System Boot-up: Power on the NVR and monitor. The system will undergo a boot-up sequence.
2.Initial Setup Wizard: The NVR might prompt you with a setup wizard to configure essential settings like language, time zone, and a secure password. Carefully follow the on-screen instructions to complete this initial setup.
3.Main Menu Navigation: Upon successful setup, you will arrive at the NVR’s main menu. Utilize this menu for further configuration:
◦ Network Configuration: Establish network settings such as IP address, subnet mask, and gateway. Refer to your network router’s settings if necessary.
◦ Storage Management: Format the connected hard drive(s) to enable video recording functionality on the NVR.
◦ Device Access: Add your IP cameras to the NVR. You can choose between manual configuration or automatic detection (Plug and Play). Manual setup requires the camera’s IP address and login credentials.
◦ Recording Management: Define recording schedules, video resolution, and other recording parameters to suit your needs.
◦ System Management: Manage user accounts, date & time settings, and other system configurations for optimal operation.
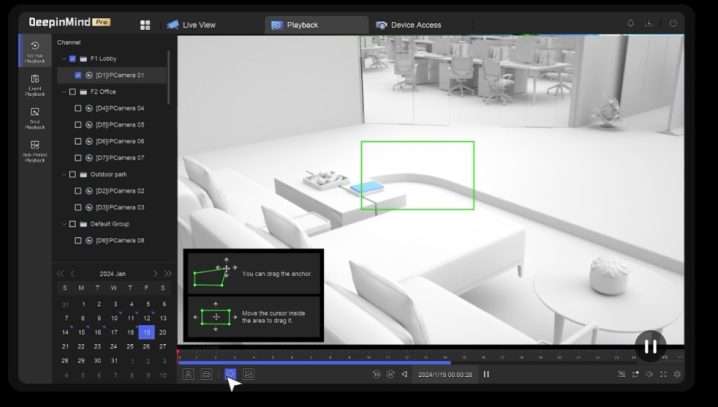
Additional Resources
• Hikvision User Manuals: Access the official user manual for your specific NVR model by searching the Hikvision website using your model number (e.g., DS-7608NVI-I2/8P/4S).
• Hikvision YouTube Tutorials: Numerous informative video tutorials exist on YouTube to guide you through the setup process visually. Search for “Hikvision NVR 5.0 setup” to find relevant videos.
Important Note: The provided steps serve as a general guideline. Specific configurations might differ based on your NVR model. Always refer to the official user manual for detailed instructions and advanced functionalities.
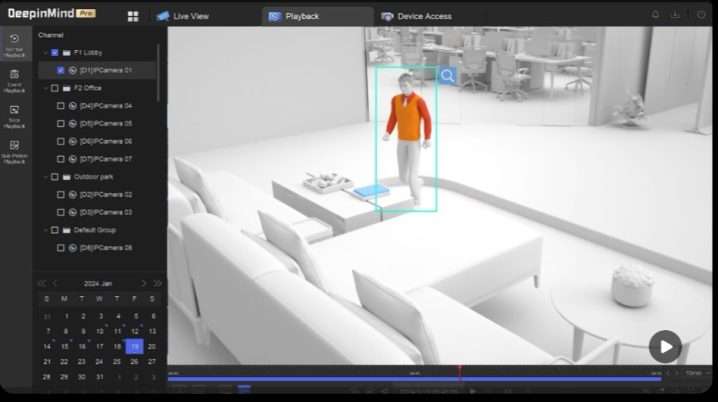
Setting up a Hikvision NVR (Network Video Recorder) involves several steps, including hardware setup, network configuration, and camera configuration. Here’s a detailed guide to help you set up your Hikvision NVR 5.0:
1. Hardware Setup
Step 1: Unbox and Connect Components
• Unbox your NVR and ensure all components are included (NVR unit, power adapter, mouse, remote control, and necessary cables).
• Place the NVR in a stable, well-ventilated location.
Step 2: Connect the NVR to a Monitor
• Use an HDMI or VGA cable to connect the NVR to a monitor.
Step 3: Connect the NVR to the Network
• Connect the NVR to your router using an Ethernet cable.
Step 4: Connect Cameras to the NVR
• If your cameras support PoE (Power over Ethernet), connect them directly to the NVR’s PoE ports.
• If not, connect the cameras to a separate PoE switch or power them individually and connect them to the network.
Step 5: Power Up the NVR
• Plug in the NVR and turn it on using the power button.
2. Initial Configuration
Step 1: Boot Up and Log In
• Turn on the monitor and wait for the NVR to boot up.
• You will be prompted to log in. Use the default login credentials (usually username: admin and password: 12345 or a blank password). It is recommended to change the default password during the initial setup for security purposes.
Step 2: Set Date and Time
• Navigate to Configuration > System > General.
• Set the correct date, time, and time zone.
Step 3: Network Settings
• Navigate to Configuration > Network > General.
• Ensure the NVR has a valid IP address (preferably set to a static IP for stability).
• Configure DNS settings if necessary.
3. Adding Cameras
Step 1: Detect and Add Cameras
• Navigate to Camera Management or Camera > IP Camera.
• Click on Search to detect available cameras on the network.
• Add the detected cameras. You may need to enter the camera’s login credentials if they are not using the default ones.
Step 2: Configure Camera Settings
• Once the cameras are added, you can configure individual camera settings like resolution, frame rate, and encoding options.
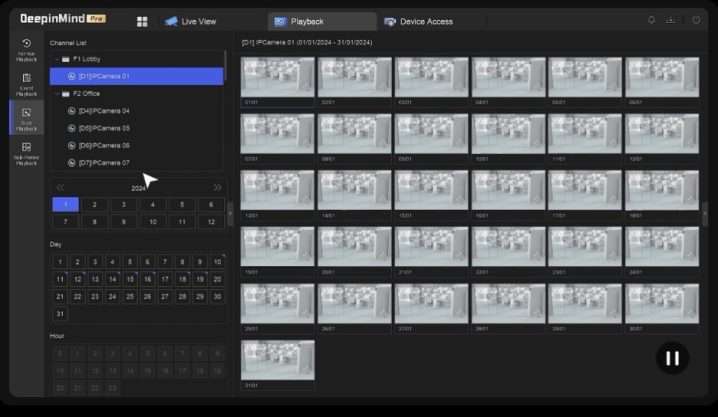
4. Recording Settings
Step 1: Set Up Recording Schedule
• Navigate to Storage > Schedule Settings.
• Set up a recording schedule for each camera (continuous, motion detection, or event-based).
Step 2: Configure Storage Settings
• Navigate to Storage > Storage Management.
• Ensure the hard drive(s) are correctly initialized and configured.
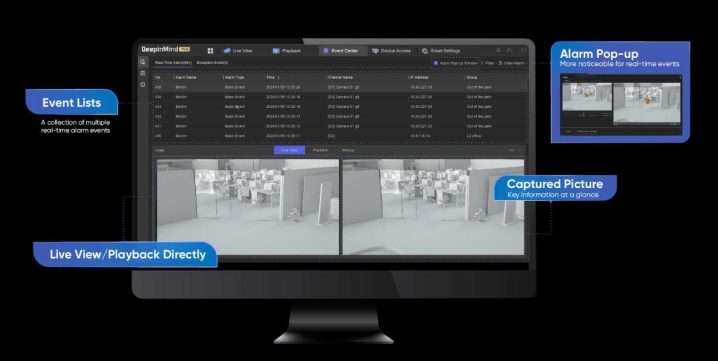
5. Remote Access Setup
Step 1: Enable Hik-Connect
• Navigate to Configuration > Network > Advanced Settings.
• Enable Hik-Connect and set up an account if you haven’t already.
Step 2: Port Forwarding (if necessary)
• Configure port forwarding on your router for the NVR’s IP address to allow remote access (commonly HTTP port 80, RTSP port 554, and server port 8000).
Step 3: Mobile App Setup
• Download the Hik-Connect app on your mobile device.
• Log in with your Hik-Connect account and add your NVR by scanning the QR code or entering the NVR’s serial number.
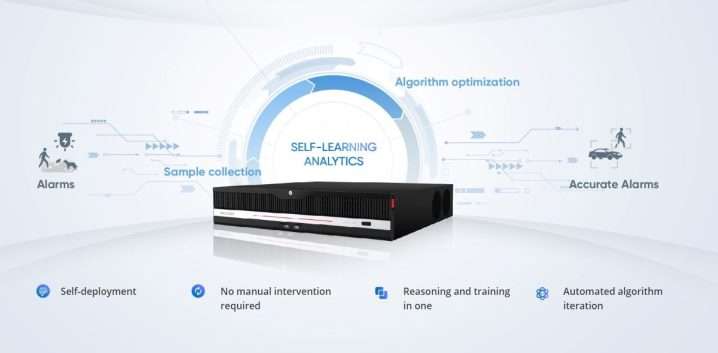
6. Final Steps
Step 1: Test the System
• Check all camera feeds on the monitor to ensure they are working correctly.
• Test remote access through the Hik-Connect app.
Step 2: Backup Settings
• Navigate to Maintenance > System Configuration and back up your configuration settings.
Troubleshooting Tips
• If a camera is not detected, ensure it is powered on and connected properly.
• Check network cables and connections if the NVR is not accessible remotely.
• Update firmware for both the NVR and cameras for improved stability and security.
This guide should help you set up your Hikvision NVR 5.0 system. For more detailed instructions, refer to the user manual or the Hikvision support website.
.
